
How to: Make a riso print zine
- Eva Bartels

- 28 aug
- 3 minuten om te lezen
You've probably seen them around before, because riso zines are everywhere these days! But what exactly is a zine? A zine is a small book or mini-magazine that you create yourself. The beauty is: there are no rules. You can use collages, illustrations, text, photography, or even paintings. Creating a zine is an accessible and fun way to express your creativity and distribute your work. What goes in the zine is entirely up to you, so it can be anything. Because they're often easy to reproduce (for example, with a riso printer ), they're ideal for sharing your ideas, stories, or art with a wider audience.
Zines became particularly popular in the 1970s and 1980s within the punk scene, where they were a key tool for spreading protest and alternative ideas. Later, they were increasingly used by artists and illustrators as an accessible publishing format. To this day, risoprint zines are produced worldwide as a means of experimentation, storytelling, or simply as a way to hold something beautiful in one's hands.
Today I'll show you how to make a one-page zine : a super simple zine that you can fold from a single sheet of paper. I'm using A3 paper because I'll be riso-printing the zine later in my studio in Utrecht, but an A4 sheet works just as well. That way, you'll have a mini-zine!
If you're having trouble finding inspiration, take a look here at my previous blog post, where I share tips to get your creativity flowing.
Let's get started!
Step 1 - Folding your paper
The first step is simple: Fold your sheet of paper into 8 squares. Do this by first folding the sheet in half vertically, then once horizontally. Then, fold the two sides back in towards the center. You should now have a grid of 8 rectangles or squares. These will form the pages of your zine.


Step 2 - cutting
Fold the sheet in half vertically. Then cut or trim the fold line in half (on the closed side of the paper). This will allow you to later fold the sheet in a zigzag pattern into a booklet.


Step 3 - Numbering Pages
Number the boxes this way ( Important : pencil them in much smaller than this so you can erase them later). The numbers indicate the page numbers. Number 1 is your front cover, number 8 the back cover.

Step 4 - Use your creativity!
Go wild! Fill in the boxes however you like. Create a story, highlight your favorite interest, or showcase your finest collection.
I started with two (black and white) layers because I was going to riso print the zine. However, this isn't necessary; you can simply create the zine on a single sheet without using a special riso printer. You can also make a zine using only collage, drawing, painting, and many other techniques.


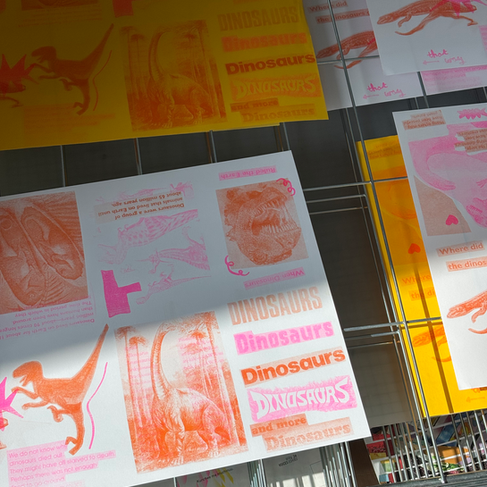
before riso print after risoprint
Step 5 - Folding the booklet
Once you've finished designing, it's time to fold the zine!
Fold the sheet in half horizontally so you can stand the booklet upright (see photo). Then press the two sides together. Finally, fold the zine closed and flatten it. You can then flatten the folds a little more.


Step 6 – Sharing your zine
Ta-da! Your first zine is finished. 🎉
You can, of course, just keep it for yourself, but it's also fun to reproduce and distribute it. Scan or copy your one-page zine and make multiple copies. If you have access to a risograph printer , I definitely recommend having it risographed. :)
If you enjoyed this DIY project, the riso print zine course might be just what you're looking for! During this four-day course, you'll learn how to make different types of riso print zines, experiment with materials, and explore storytelling. You'll also riso print your zine and take home five beautiful copies of your booklet.
Read more about the zine course here .